
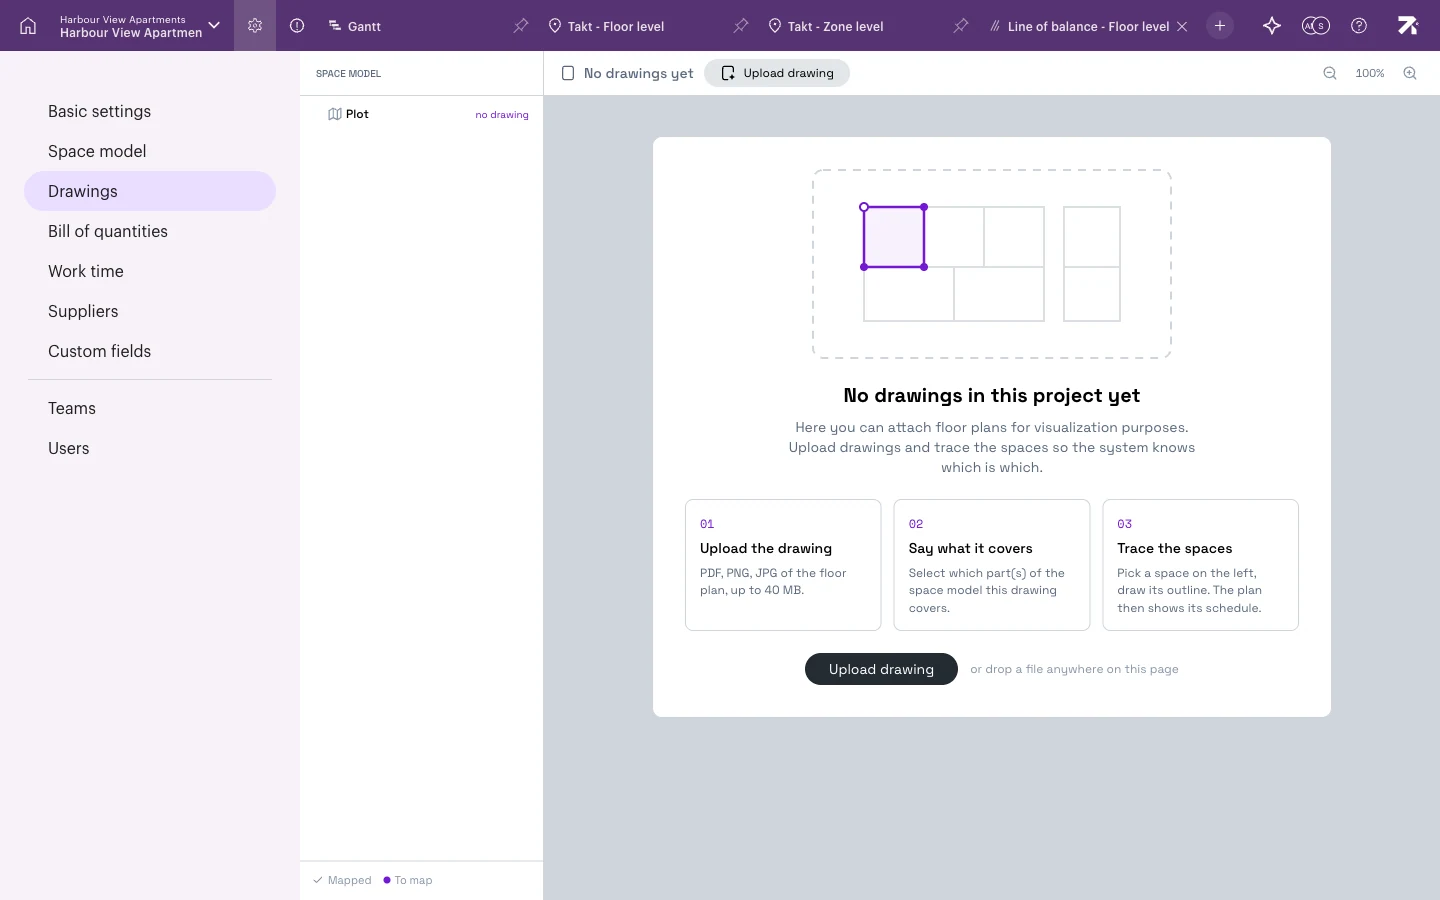
Drawings let you see the schedule on a floor plan. You upload a drawing, tell Sitedrive which spaces of the space model it covers and trace their outlines. Each traced space is then coloured by the status of the work in it, so you can see at a glance which rooms are blocked, late or done.
Before you start
- Setting up drawings needs rights to edit the schedule settings.
- The schedule needs a space model first, because drawings are attached to its spaces. See Building the space model.
- Have the floor plan ready as a PDF, PNG or JPG file of up to 40 MB.
Upload a drawing
- Open Schedule settings (the gear next to the schedule name).
- Select Drawings.
- Select Upload drawing.
- Choose or drop the file.
- Under Area the drawing covers, select the part of the space model the drawing shows, for example Staircase A, Floor 3.
- Select Add drawing.
Trace the spaces
Tracing tells Sitedrive where each space is on the drawing.
- Pick a space from the list on the left.
- Draw its outline with one of the tools:
- Rectangle: drag a box over the space.
- Polygon: click each corner.
- Select and edit points: adjust an outline you have already drawn.
- Repeat for the other spaces. Sitedrive shows how much of the drawing is complete and how many spaces are left to trace.
To swap a drawing for a newer revision, replace it. The spaces you have traced are kept. Deleting a drawing removes the drawing and all spaces traced on it.
See progress on the drawing
In the Gantt view, select Show drawings (map icon) in the toolbar. The Drawings panel opens beside the schedule.
- Use Previous and Next to switch between drawings.
- Set the Panel position to Right or Bottom, and drag the edge to resize it. Double-click the edge to reset the size.
- Move the time cursor to see the situation on another day or week. Select Today to return.
- Select Hide drawings to close the panel.
There is also a Drawing view type that shows progress on a floor plan or facade drawing in its own tab. See Views as tabs.
How spaces are coloured
Each traced space takes the colour of the most urgent status of the work in it, in this order:
Blocked › Delayed (not started) › Delayed (started) › In progress › Open Issues › Ready to start › Planned › Completed › Verified
So a room turns green only when all the work in it is finished. Spaces with no work show “No work”. See Tracking progress for what each status means.
Good to know
- Moving the time cursor changes which work counts as started or late on that date, but reported completion doesn’t move back in time. Work finished yesterday still shows as completed if you move the cursor a month back.
- Only spaces that exist in the space model can be traced. Add missing spaces in the space model first.
- Only PDF, PNG and JPG files of up to 40 MB are accepted.