
A weekly site meeting goes faster when everyone looks at the same live schedule on the screen. This recipe combines features from other articles into one routine: clear the blockers, deal with late work, check in with each trade and look ahead. Adjust it to your site.
Before you start
- Preparing a shared meeting view needs Schedule or Site rights, because only these users can change View settings and share views.
- Everyone who reports status should have done so before the meeting, ideally from Sitedrive Mobile. Changes appear in the web schedule without reloading.
1. Prepare a meeting view (once)
Set this up once and reuse it every week.
- Create a new view tab, for example a Gantt or Line of balance view, and name it “Site meeting”. See Views as tabs.
- Switch on Focus view in the toolbar. The default window shows last week and the next three weeks, and it moves with the calendar automatically.
- Select Status in the Teams | Status switch.
- Open View settings and lock the settings you want everyone to see the same way, such as the focus view and the colouring.
- Right-click the tab and choose Share to all, so every user sees it.
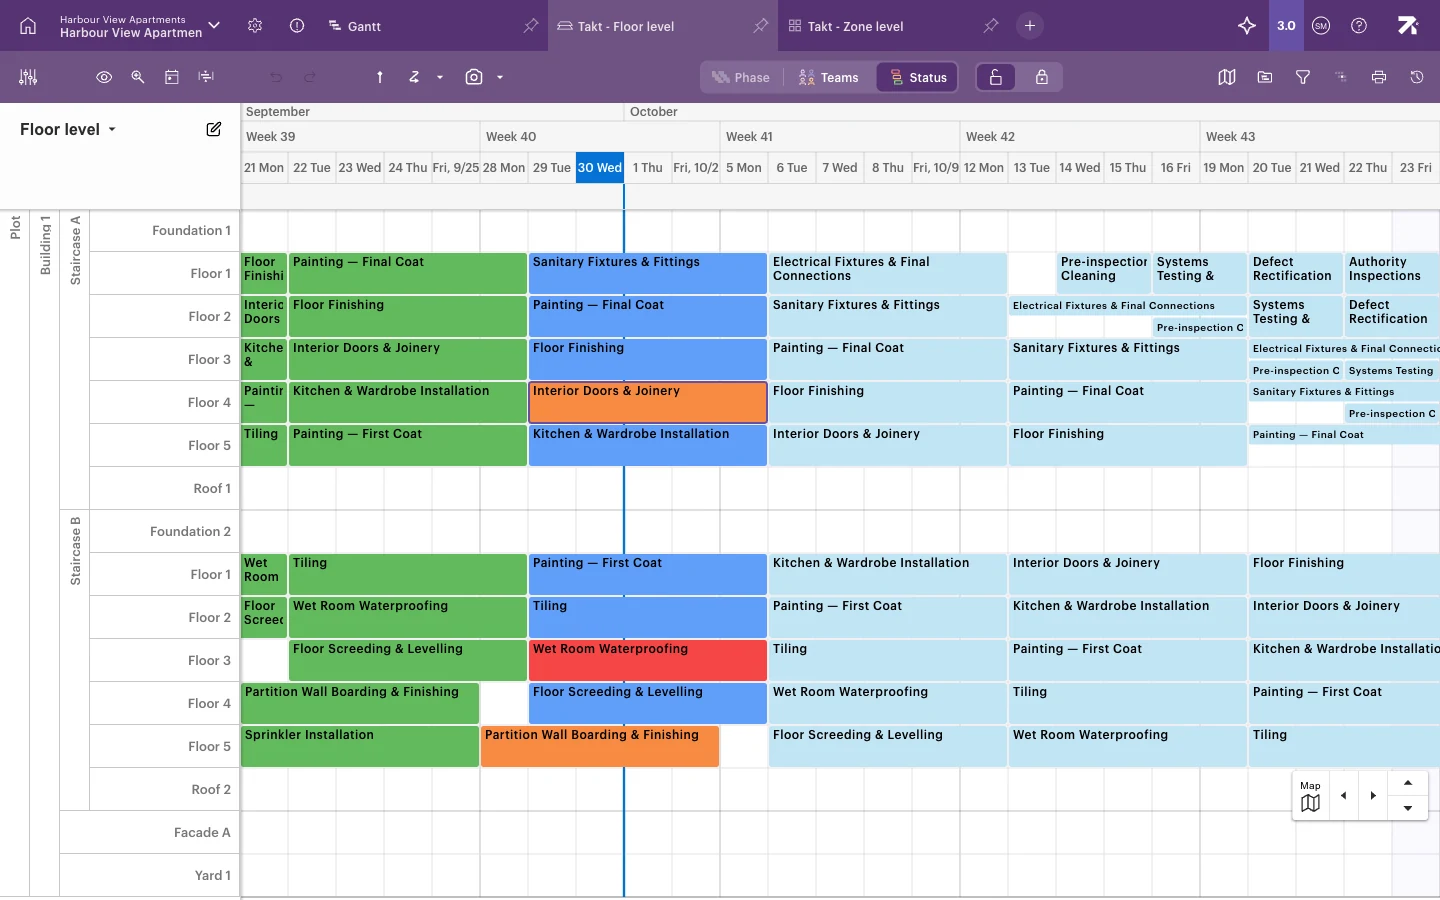
See Filter, highlight and focus and Sharing views and locking settings for the details.
2. Start with blockers (5–10 minutes)
- Select the Issues icon in the schedule header.
- Switch on Hide completed.
- Sort by Deadline. Red deadlines are due today or overdue.
- Go through the Blocker rows first. For each one, agree who removes it and by when.
- Double-click a row and set the Team, Owner and Deadline.
- Select Save.
- Tick the ones that are already solved.
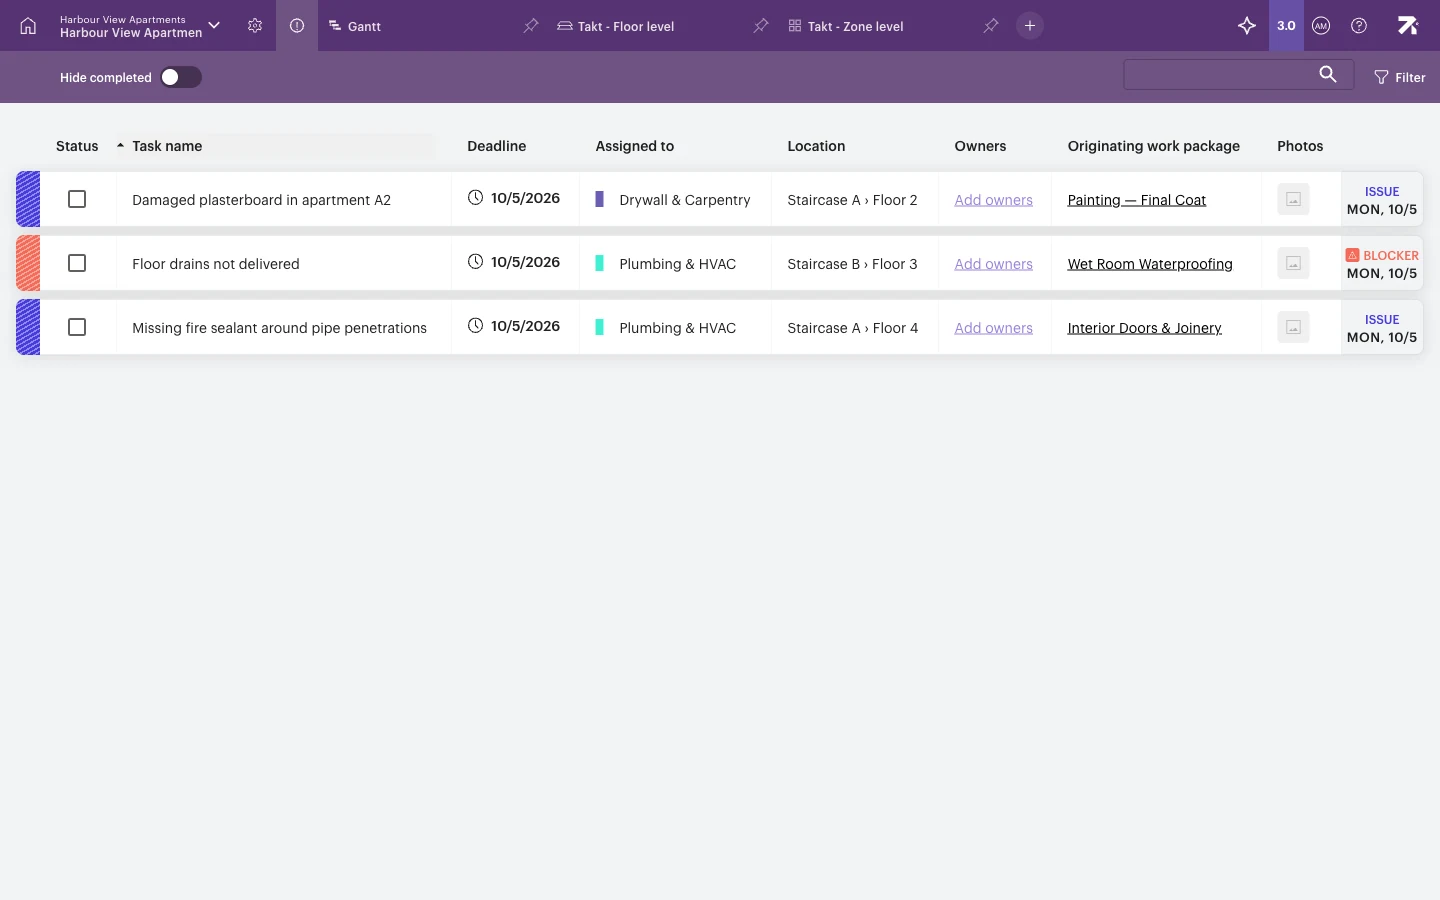
See Working with issues.
3. Review late work (10 minutes)
- Open the meeting view.
- Look for red (blocked) and orange (late) work packages. Late means not started after the planned start, or still in progress after the planned end.
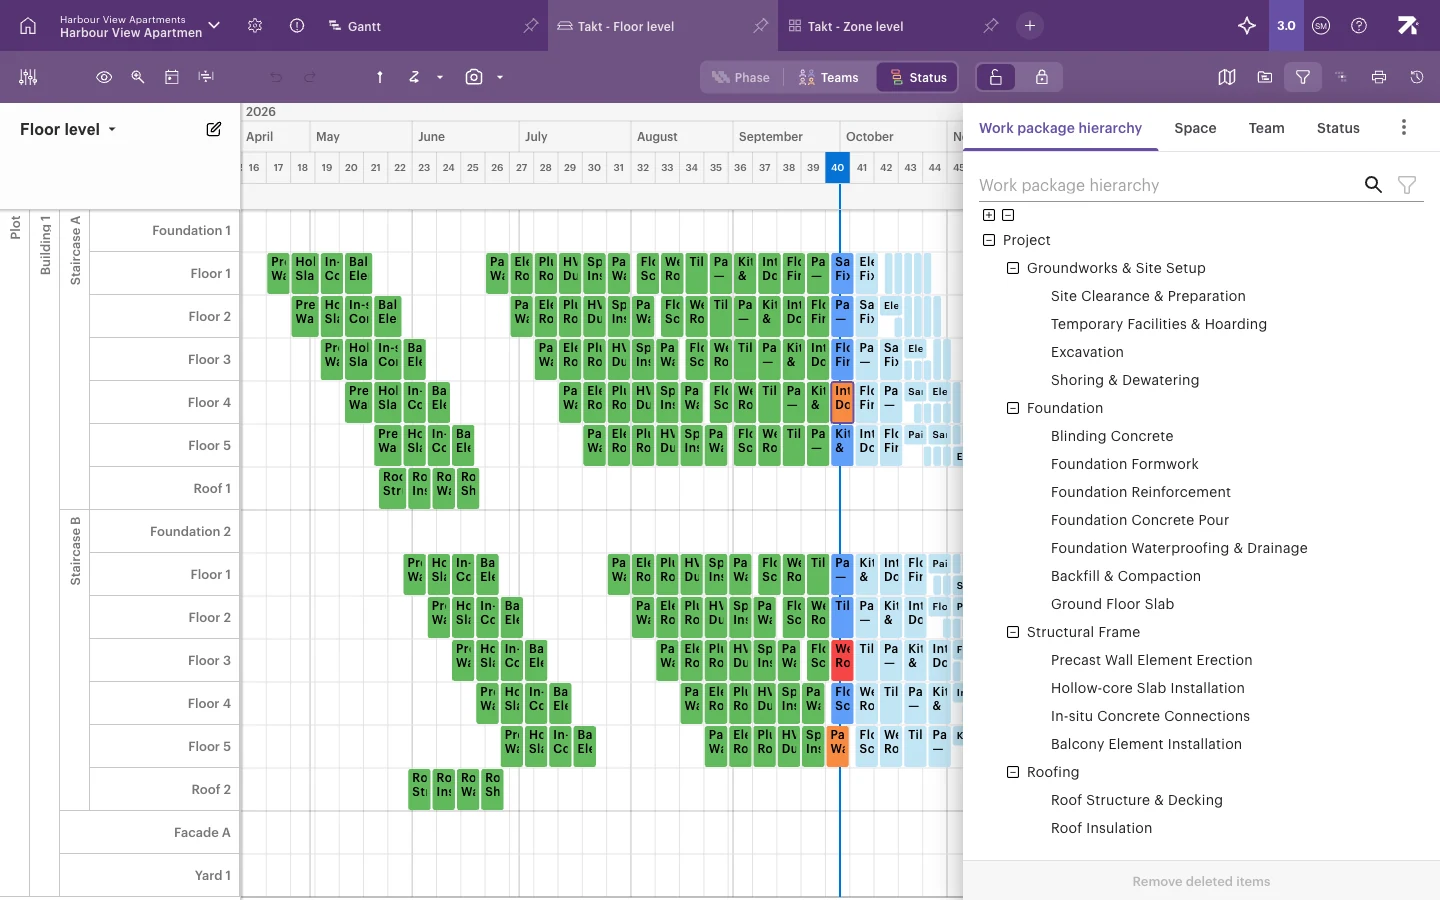
- To see only the problems, open Filter work packages › Status and select Delayed (not started), Delayed (started) and Blocked. To keep the surrounding work visible, use Highlight by status instead.
- For each late item, agree a recovery action.
- Record the action as a status comment in the work package panel (comments icon › Status toggle › Send status).
4. Check in with each trade (2–3 minutes each)
- In Filter work packages, choose Team and select the trade, for example Drywall & Carpentry.
- Walk through their work in the focus window.
- Update statuses on the spot in the work package panel if something is out of date.
- Clear the filter before moving to the next trade.
5. Look ahead (5 minutes)
- In Gantt, select the eye icon (Select schedule visualization options) › Progress line › Most late. The line shows the front that is furthest behind.
- Check that the next two to four weeks of work are ready to start: materials, drawings and previous trades. Raise a blocker for anything that isn’t.
- If you have saved a baseline, switch on Show baseline to see what has slipped against the agreed plan. See Comparing progress to plan.
6. Share the result
Print the lookahead to PDF and send it with the minutes. When focus view is on, the printout covers the focus window automatically. See Printing and exporting.
Good to know
- Locked settings in a shared view apply to everyone who opens it. People can still add their own filters on top of unlocked dimensions.
- In the Status filter, “Ready to start” and “Planned” are separate values. Select both if you want all work that is not started and not late.
- Keep the view simple. A focus window of 4–5 weeks and status colours are usually enough for a meeting.