
Schedule settings hold everything that applies to one schedule as a whole: its name, space model, working time and custom fields. The same menu also gives you the site’s teams and users, which all schedules of the site share.
Before you start
- Open the settings with the gear icon (Schedule settings) next to the schedule selector.
- The schedule pages need the Schedule role. Refine users see only Teams and Users; Refine (ltd) users see only Teams, and only to view it. Report and Accept users don’t see the settings. See Roles and what each one can do.
The settings pages
| Page | What you set there |
|---|---|
| Basic settings | Schedule name, project number, category, work section model and mobile options (below). |
| Space model | The building’s locations. See Building the space model. |
| Bill of quantities | Quantities for quantity-based scheduling. See Quantity-based scheduling. |
| Work time | Working hours, exceptions, public holidays and takt durations. See Working time and holidays. |
| Custom fields | Your own fields for work packages (below). |
| Teams | The site’s teams, shared by all its schedules. See Teams and people. |
| Users | The site’s users and their access rights. See Teams and people. |
Availability: Bill of quantities is switched on separately for each account. If you can’t see it, contact Sitedrive support.
Basic settings
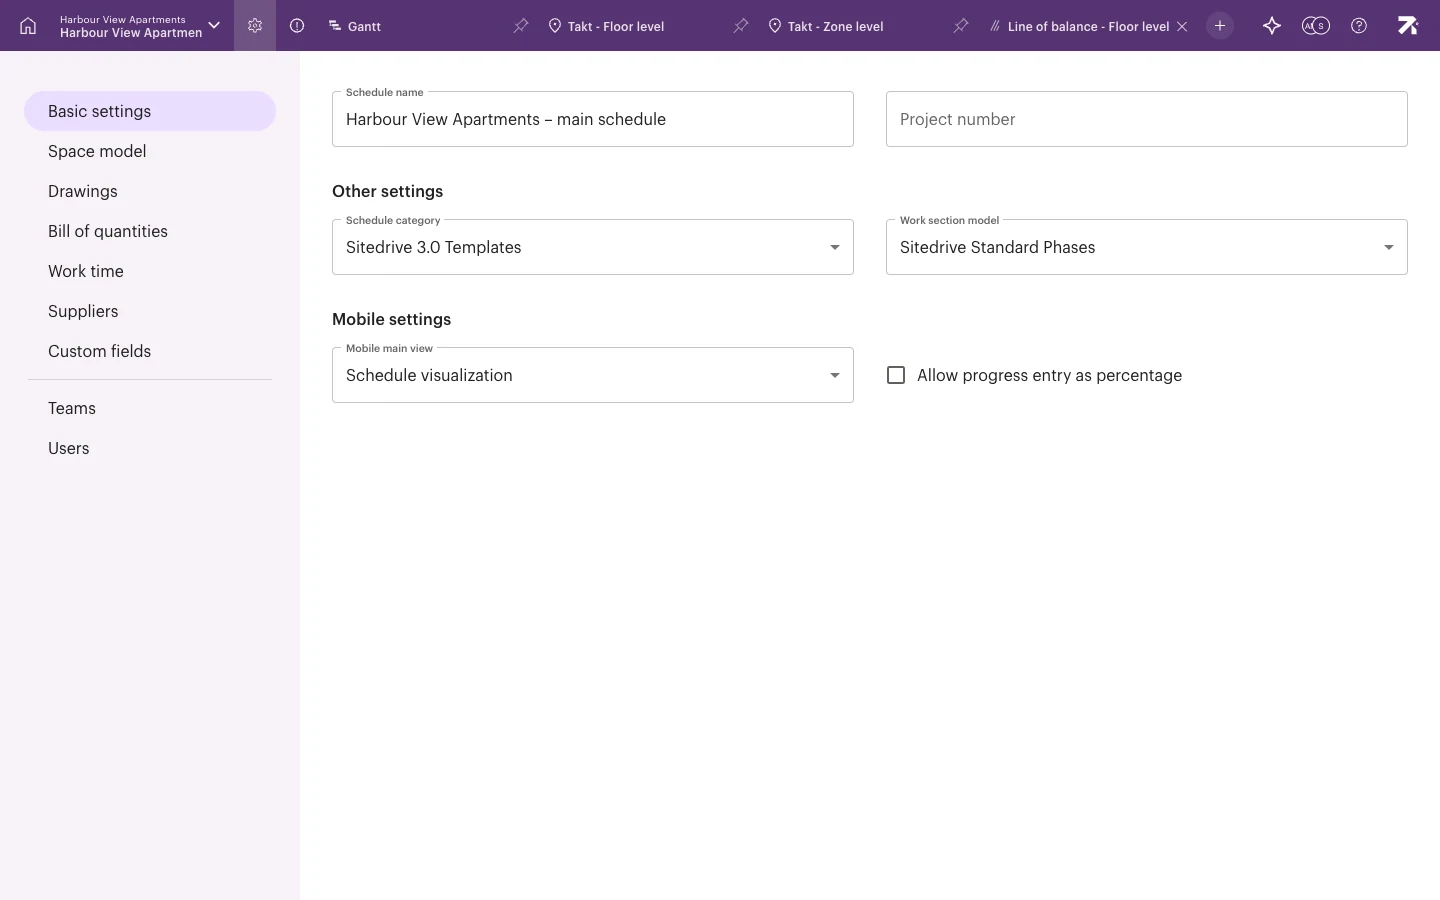
- Schedule name – the name shown in the schedule selector.
- Project number – your own reference number for the schedule.
- Other settings:
- Schedule category – groups the schedule, for example when it is used as a template.
- Work section model – the list of work sections used for work packages. Work sections are managed in the account’s libraries. See Libraries: work sections and templates.
- Mobile settings:
- Mobile main view – what Sitedrive Mobile shows first: Schedule visualization or All work listing.
- Allow progress entry as percentage – tick it to let people report progress as a percentage in Sitedrive Mobile, not only as a status. See Reporting status on mobile.
There is no start date in Basic settings. The Initial start date chosen when the schedule was created only sets up the initial calendar view, and work can be moved anywhere on the timeline. See Creating a schedule.
Add a custom field
Custom fields let you track your own information on work packages, such as a contract number or an inspection date. They show as columns in the Gantt table and on each work package, and they can also be read through the API.
- Go to Schedule settings → Custom fields.
- Select New field.
- Type the Field name.
- Choose the Field type: Text, Multiline text, Number, Checkbox, Select list, Multiselect list, Date, Date and time, Time, JSON or Link (URL).
- For a Select list or Multiselect list, add the values people can choose.
- Save the field.
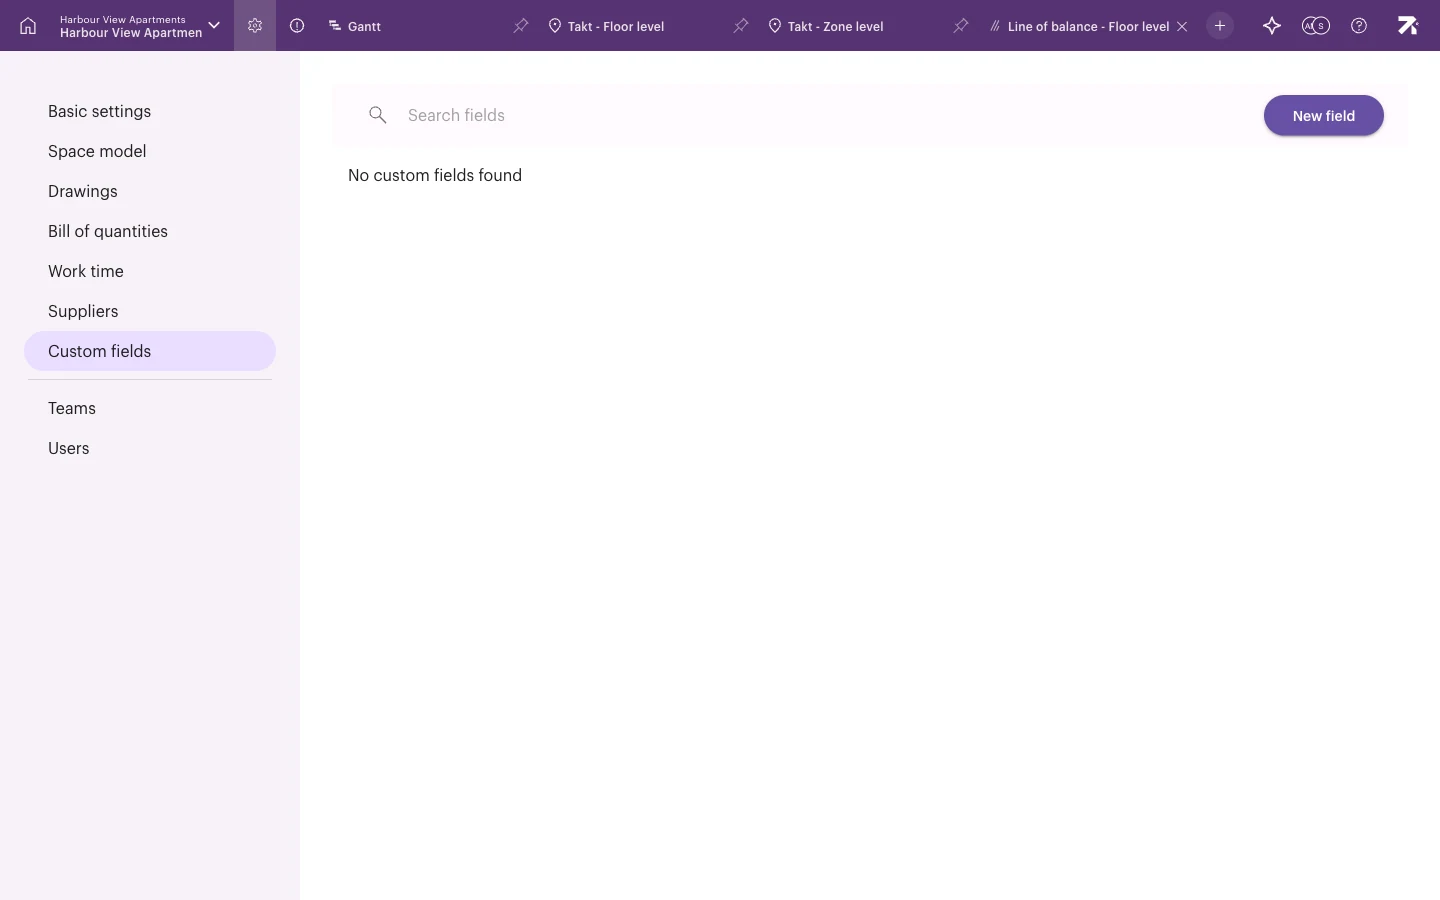
New custom fields are hidden in the Gantt table at first. To show one, open Columns in the Gantt toolbar and turn the field on. See Gantt.
Good to know
- A custom field’s type can’t be changed after it is created, because stored values use that type. Create a new field if you need another type.
- Most schedule settings apply only to the current schedule. Teams and Users apply to the whole site.
- Account-wide settings, such as the default country and schedule templates, are in the account settings. See Account settings.